Empty Pipes
ES6 Modules using Webpack and Gulp
Overview
One of the most common scenarios I run into when creating javascript applications is the following.
-
I start working on some application (let’s call it
foo). -
I start working on a different program (let’s call it
bar) and need some of the functionality that I already implemented infoo.
In python, accomplishing this is trivial by placing the source files in the same
directory and saying import foo. In javascript, it’s a little more
complicated. Rather than recapitulate a lot of existing documentation about the
different ways that one can implement modules in javascript (CommonJS, AMD,
etc…), I’ll just dive into how I use gulp and webpack to take advantage
of the ECMAScript 6 syntax for
modules to create
reusable javascript components.
Goal
The goal of this project is to create two components: foo and bar. foo
will export a function called drawCircle that we can import into bar. bar
will then draw a rectangle on top of the circle.
Here’s the code for app/scripts/bar.js
import d3 from 'd3';
import {drawCircle} from 'foo';

export function drawRectangleAndCircle(divName) {
    drawCircle(divName);

    d3.select('svg')
    .append('rect')
    .attr('x', 75)
    .attr('y', 75)
    .attr('width', 100)
    .attr('height', 100)
    .classed('bar-rectangle', true)
    .attr('opacity', 0.7)
}
And the relevant code from app/index.html which uses bar.js:
 <!-- build:js scripts/bar.js -->
  <script src='scripts/bar.js'></script>
  <!-- endbuild -->

  <script type='text/javascript'>

  bar.drawRectangleAndCircle('#circle');

  </script>
In order for all of this to function, we need some tools to manage
which modules we have installed (npm), resolve the import statements (webpack),
translate the es6 to more universally understandable es5 (babel) and to build
everything into one package (gulp). The easiest way to get started is to use
yeoman to scaffold out the application. To install yeoman,
simply use npm:
npm install -g yo
Then, install the generator for this tutorial:
npm install -g generator-gulp-webpack-es6
Setting up foo
Create a directory to host the foo module and scaffold it out:
mkdir foo
cd foo
yo gulp-webpack-es6
When yeoman asks for Your project name:, make sure to enter foo:
You can just use the default values for the other fields. The default values for author
name and email address are taken from your ~/.gitconfig if you have one.
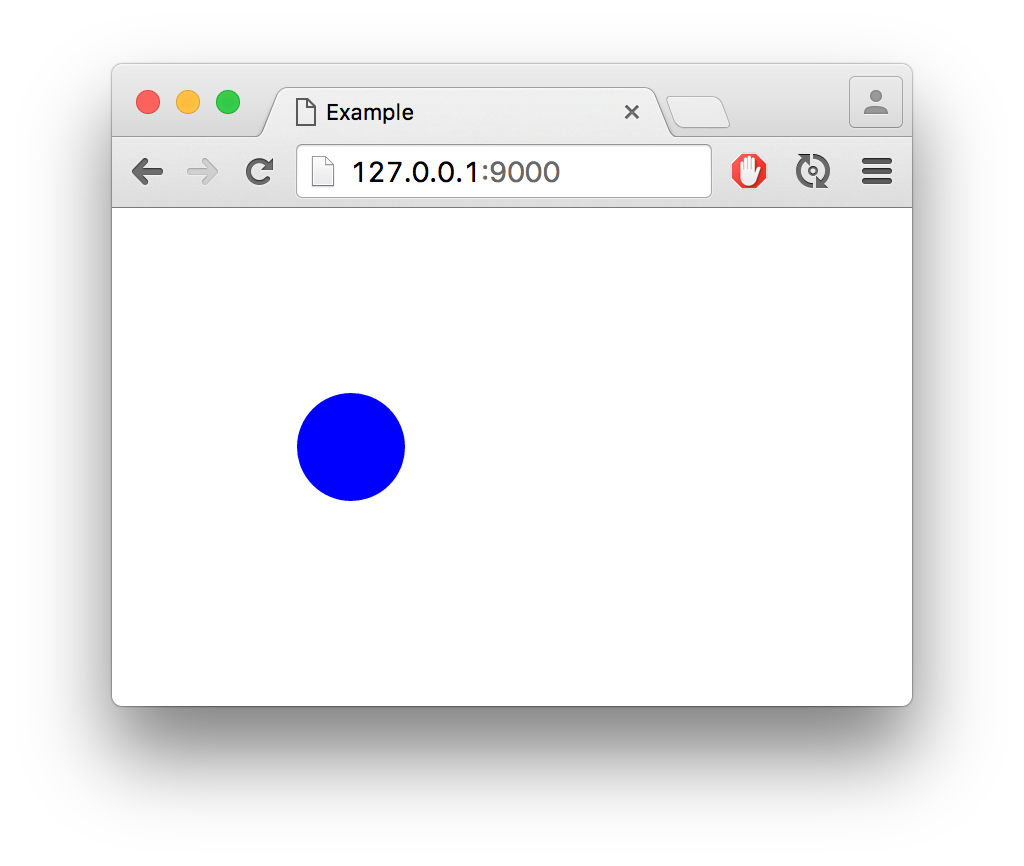
That’s it. We now have a module which simply draws a circle in the browser. Witness it in all its glory by running:
gulp serve
And pointing your browser to 127.0.0.1:9000. The result should look like this:
Now, we want to install this package locally so that we can import it from our
soon-to-be-created package bar. To do this we need to make one minor change
to our webpack.config.js by adding the following lines:
  externals: {
      "d3": "d3"
  },
These are necessary to tell webpack not to include d3 in the packaged file. Under
normal circumstances this wouldn’t be necessary but if I omit it and use npm link
as described below, I get the following error:
Uncaught TypeError: Cannot read property 'document' of undefined
It’s seems like it happens either because webpack adds a use strict;
somewhere in the bundled foo package, or because d3 is included in both foo
and bar. In either case, specifying that it’s an external package seems to
resolve the problem.
To build and install foo so that it can be imported by other modules, just
run the following two commands.
gulp build
npm link
The first will compile the code into a single javascript file and the second
will install it as a global module on the local computer. From now on, whenever
we need to make changes to foo we just need to run gulp build and they
will be reflected in every local package that uses foo.
Setting up bar
To create the calling package bar we follow a very similar procedure:
mkdir bar
cd bar
yo gulp-webpack-es6
When yeoman asks for Your project name:, make sure to enter bar. You can
use the default values for the other fields.
Now because we want to use the functionality provided in foo, we need to
install it:
npm link foo
Adn then we need to modify app/scripts/bar.js and have it implement
its own functionality:
import d3 from 'd3';
import {drawCircle} from 'foo';

export function drawRectangleAndCircle(divName) {
    drawCircle(divName);

    d3.select('svg')
    .append('rect')
    .attr('x', 75)
    .attr('y', 75)
    .attr('width', 100)
    .attr('height', 100)
    .classed('bar-rectangle', true)
    .attr('opacity', 0.7)
}
And finally we need to change the <script> code inside index.html to
call the newly created function from bar:
<script type='text/javascript'>

bar.drawRectangleAndCircle('#circle');

</script>
If everything worked as it should, running gulp serve should show a lovely
circle / square combination:

Generator directory structure
The directory structure of the componenets generated using gulp-webpackes6
is organized so that the configuration files are in the root directory, all of
the code is in the app subdirectory, unit tests are in test and the compiled
javascript is in dist:
.
├── app
│   ├── index.html
│   ├── scripts
│   │   ├── foo.js
│   │   └── helper_module.js
│   └── styles
│       └── foo.css
├── bower.json
├── dist
│   ├── index.html
│   └── scripts
│       └── foo.js
├── gulpfile.babel.js
├── package.json
└── webpack.config.js
Changing the module’s name
The default module is created so that the main file is in
app/scripts/module_name.js where module_name is the name given in the
generator questionnaire. To change it to something else, you can either re-run
the generator or make the following changes:
- Rename
app/scripts/module_name.js - Change occurences of
module_nameinapp/index.html - Change the
entryline inwebpack.config.js